My Keyboard Link to heading
I’m really into custom mechanical keyboards. I find they help me be more productive since I actually enjoy typing on them. For the last year or so, I’ve been rocking a corne keyboard
I like the corne for a number of reasons. I like its split ergonomic design and also I like how it only has 3 rows. My hands are not especially big and I find it very convenient to reach every key without having to move my hands. Furthermore, using this keyboard for the past year has increased my touch-typing ability which is important to me as a developer.
This build is specifically made of following components
Keyboard enthusiasts will know that I went pretty cheap on the switches, but overall this is a great keyboard. I like it so much, that I’m going to make a new one! So stay tuned!
Anotha One Link to heading
I like the corne keyboard so much, that I’m building another one (my wife made me swear this would be my last build). This will allow me to have the same keyboard at work and home, which will be super nice.
Furthermore, it’s really nice to work with my hands and build something physical. I enjoy programming, but in most cases, code is far less tangible than building a physical object.
So I’m taking my experience building 2 other keyboards, and making one last keyboard.
note from future Devon: this was not and probably won’t be my last keyboard
Once again, I am making a corne keyboard. I’ve got some tricks up my sleeve for this build and going to try some new things. Here is a basic parts list.
- Corne PCBs
- Corne Acrylic Plates
- Glorious Panda Switches
- Lubrication Station
- Krytox 205g0
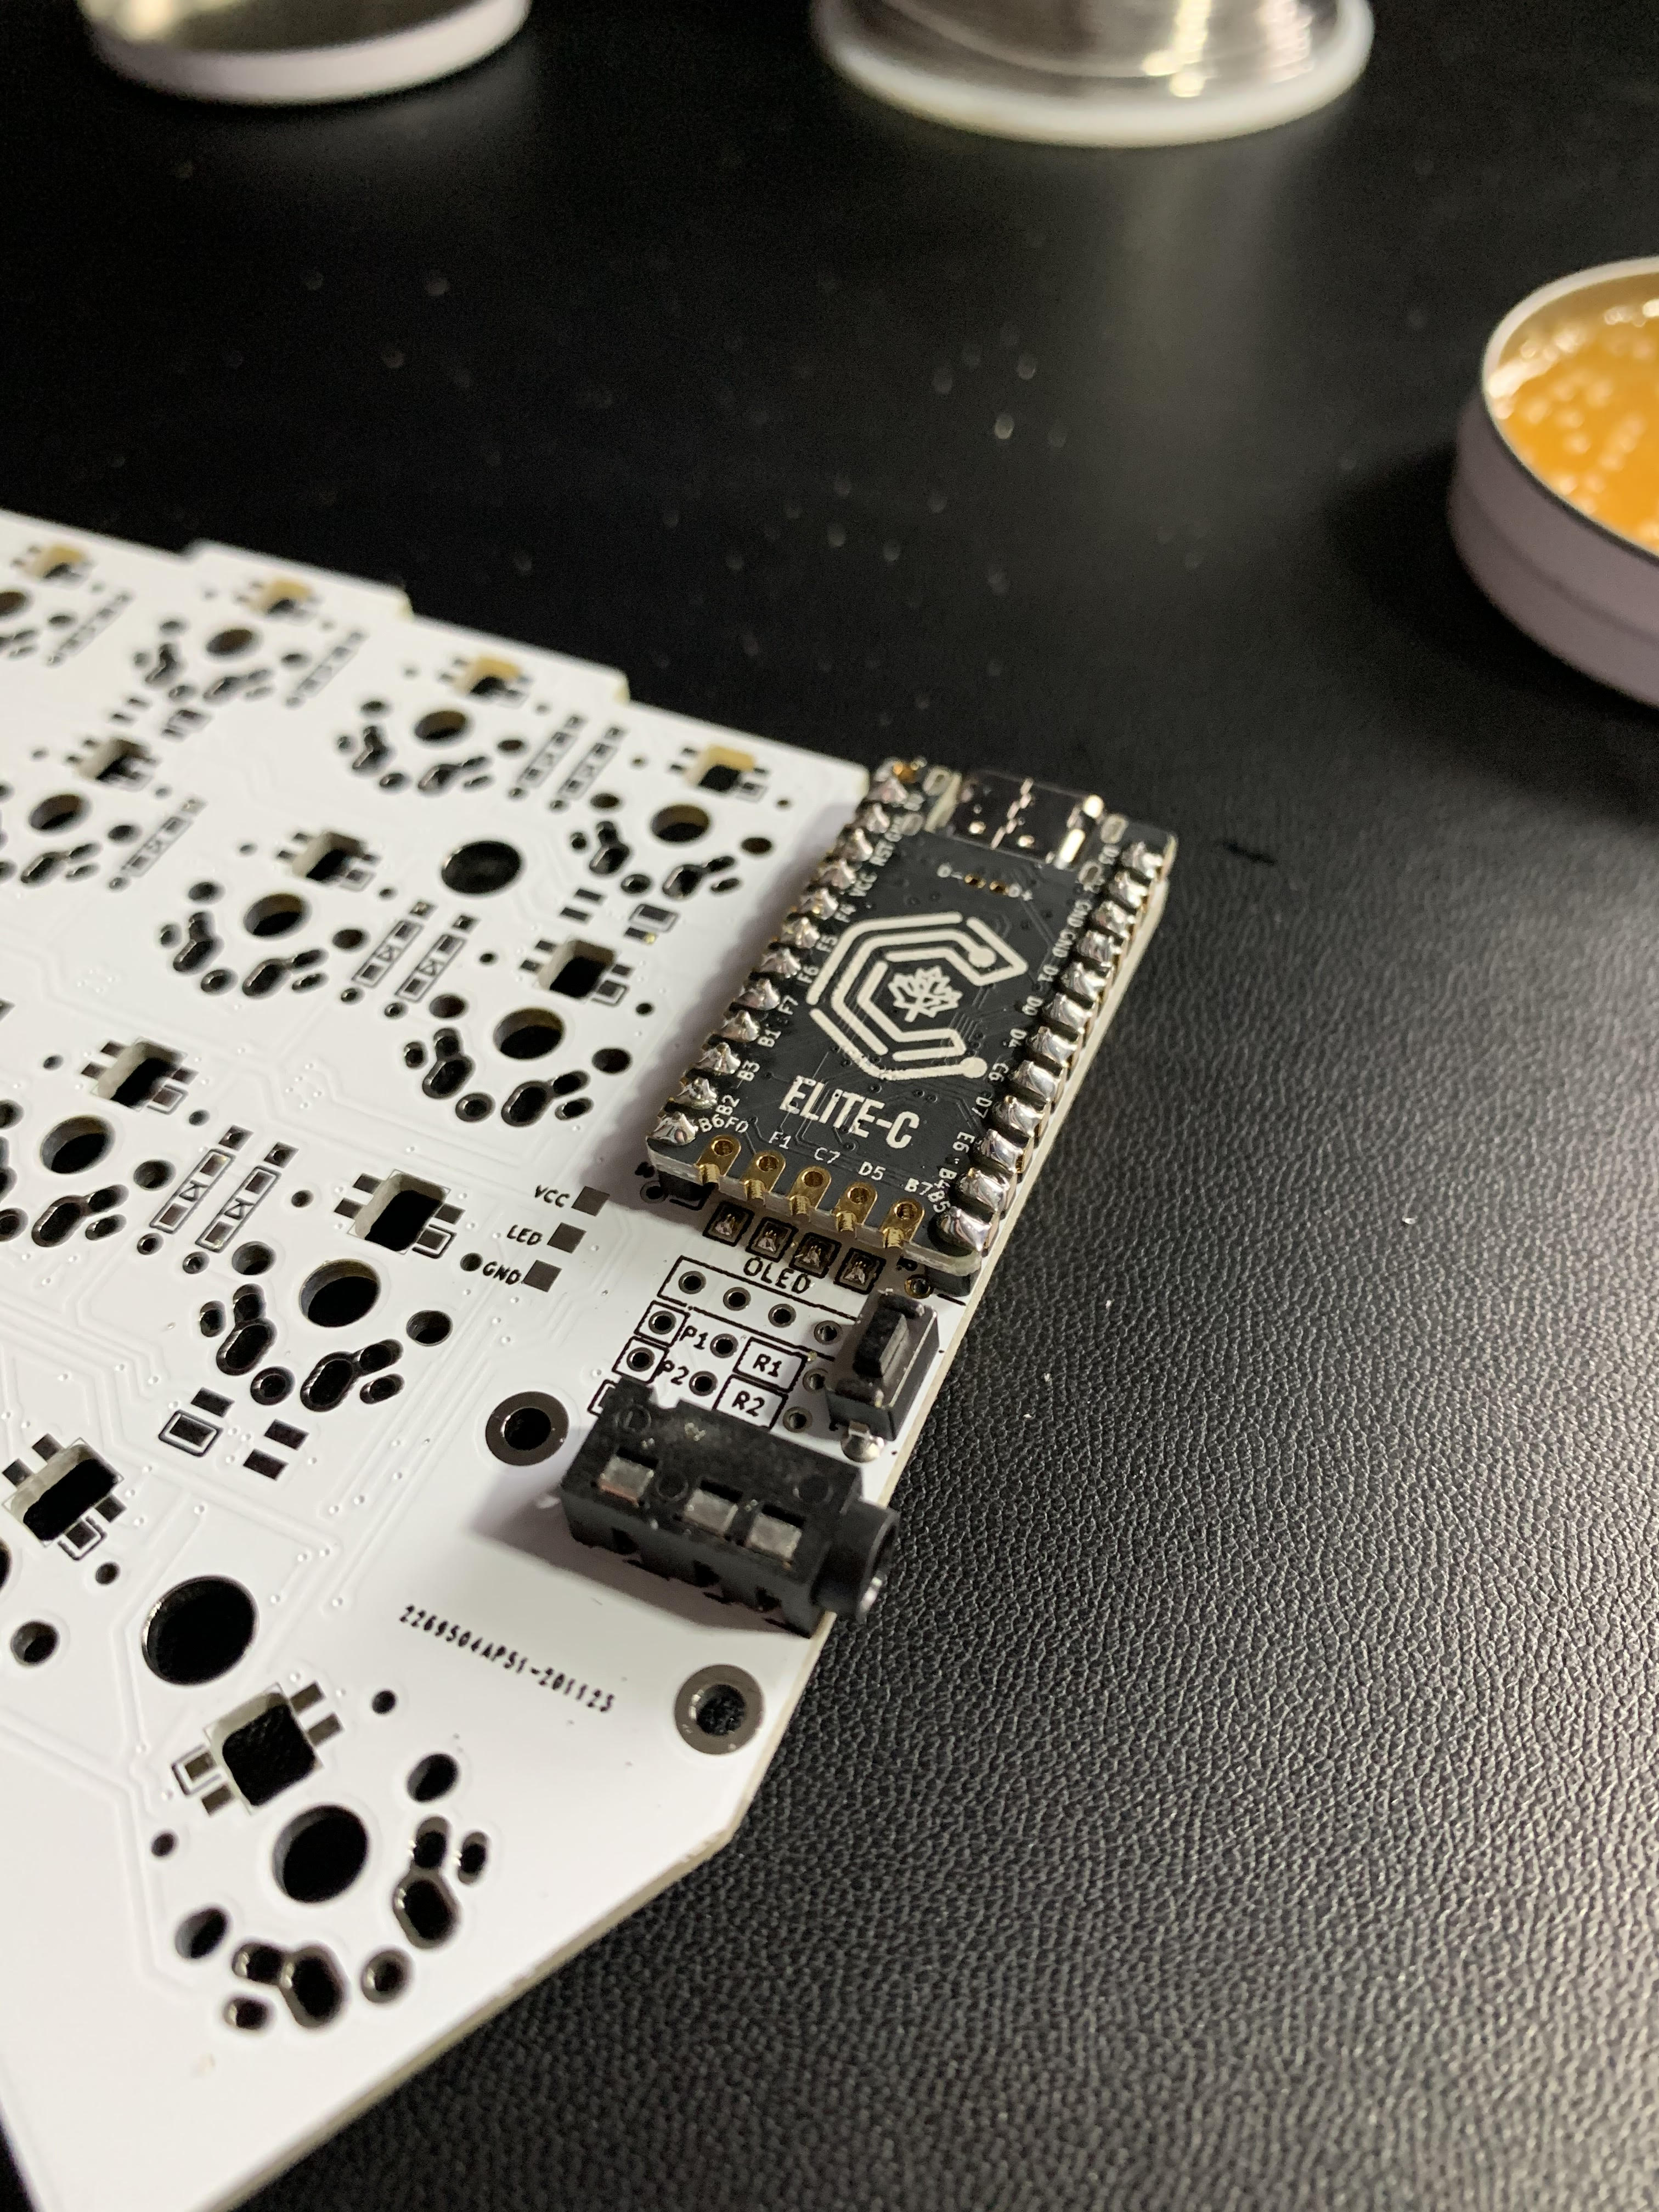
- Elite C V4
- MT3 White on Black
I already have a soldering iron, solder, flux and digital multimeter, but if you want to replicate this build, you will want those as well.
Soldering Link to heading
I have soldered only a total of 10 or 15 times, so I’m definitely not an expert. Here are some tips I’ve picked up especially for soldering surface mount components.
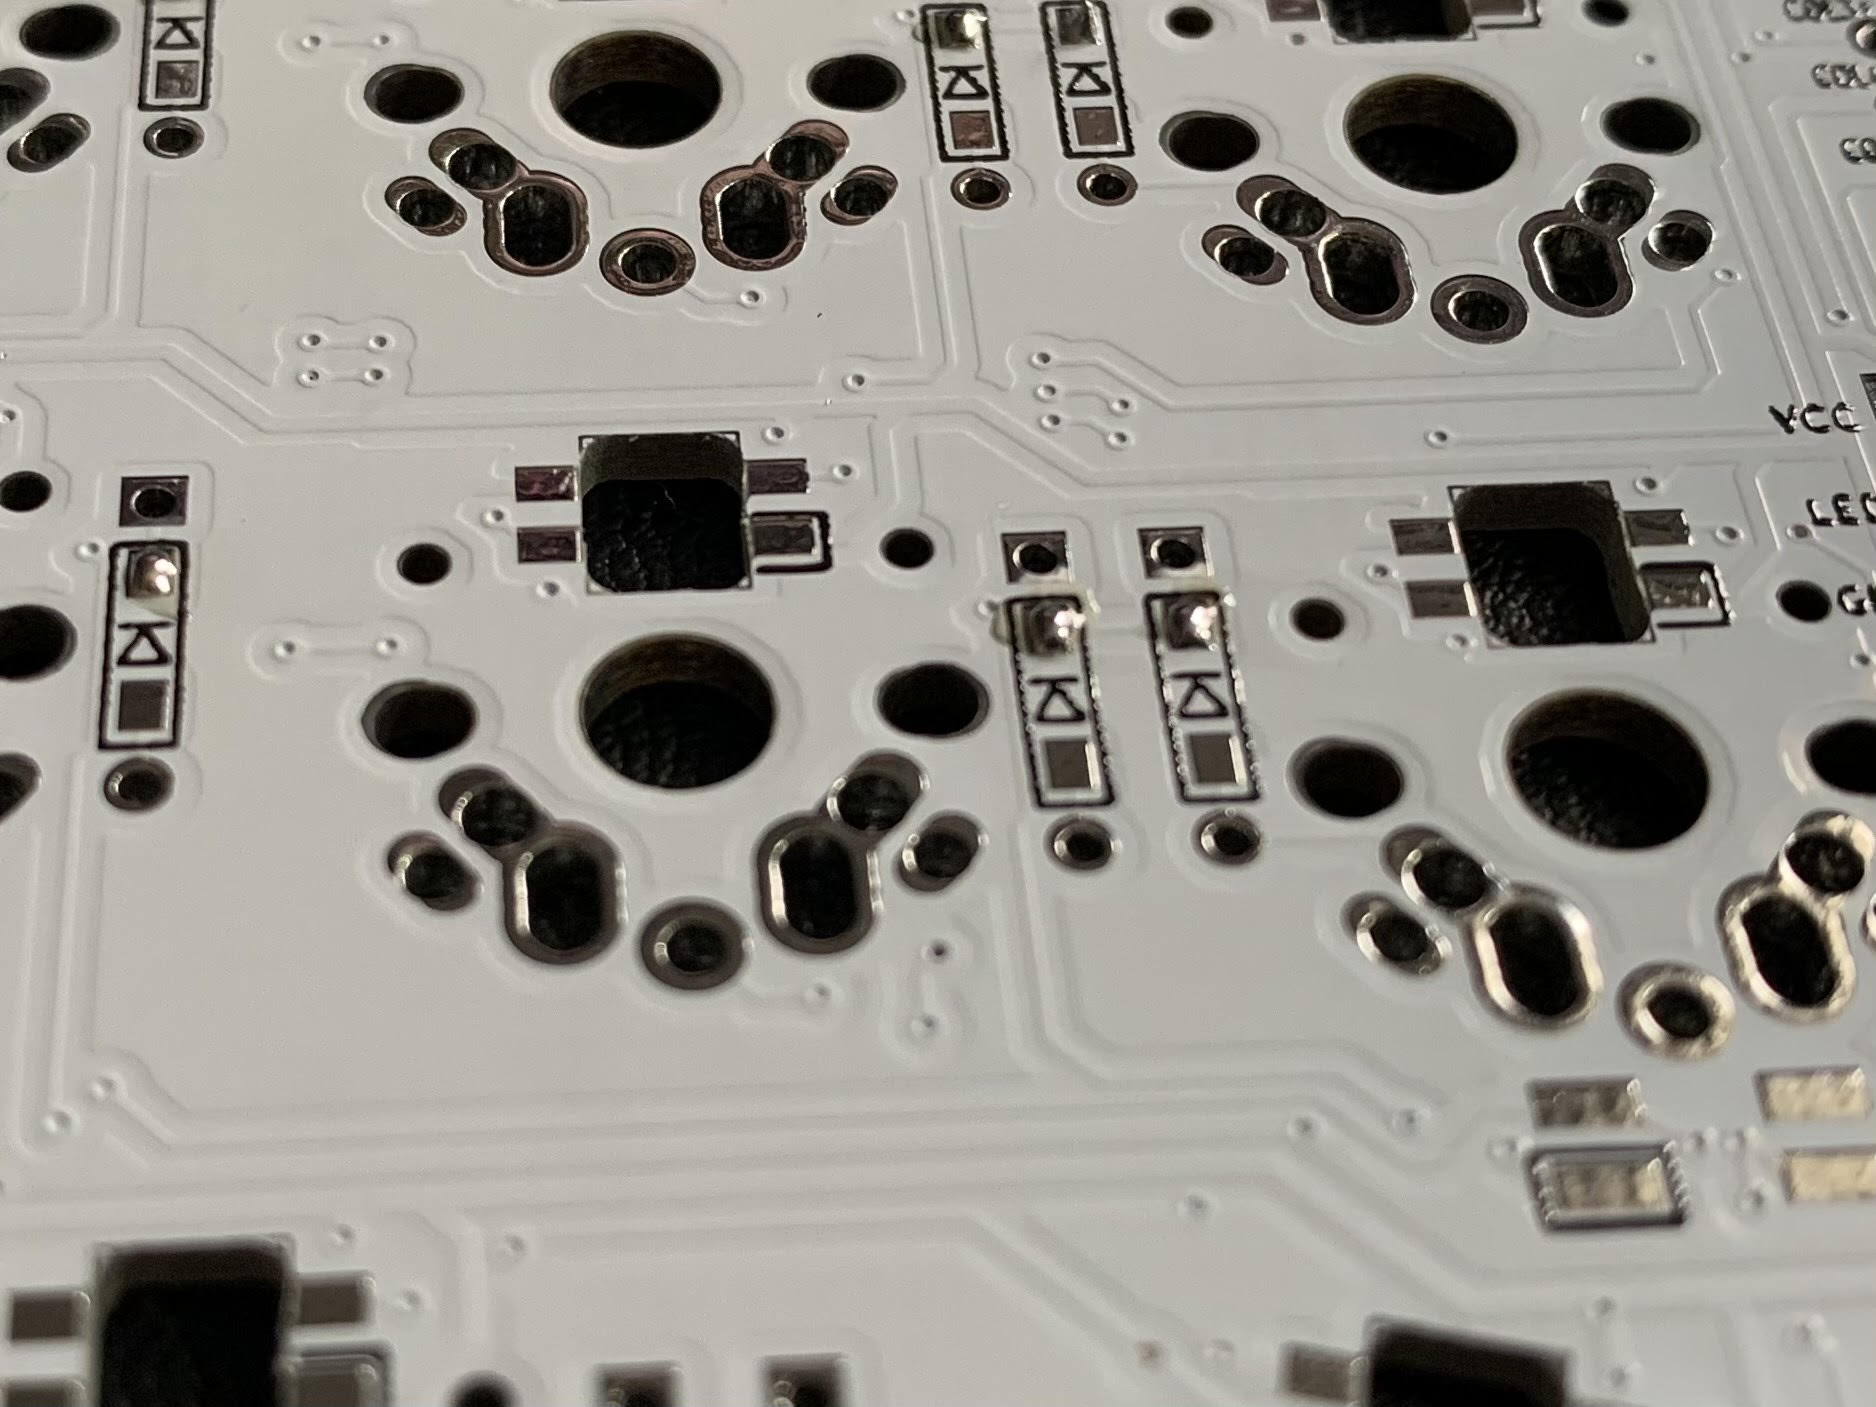
Basically, I soldered the surface mount diodes in 3 steps
Prepare the pads Link to heading
I start by putting a small amount of solder on each pad.
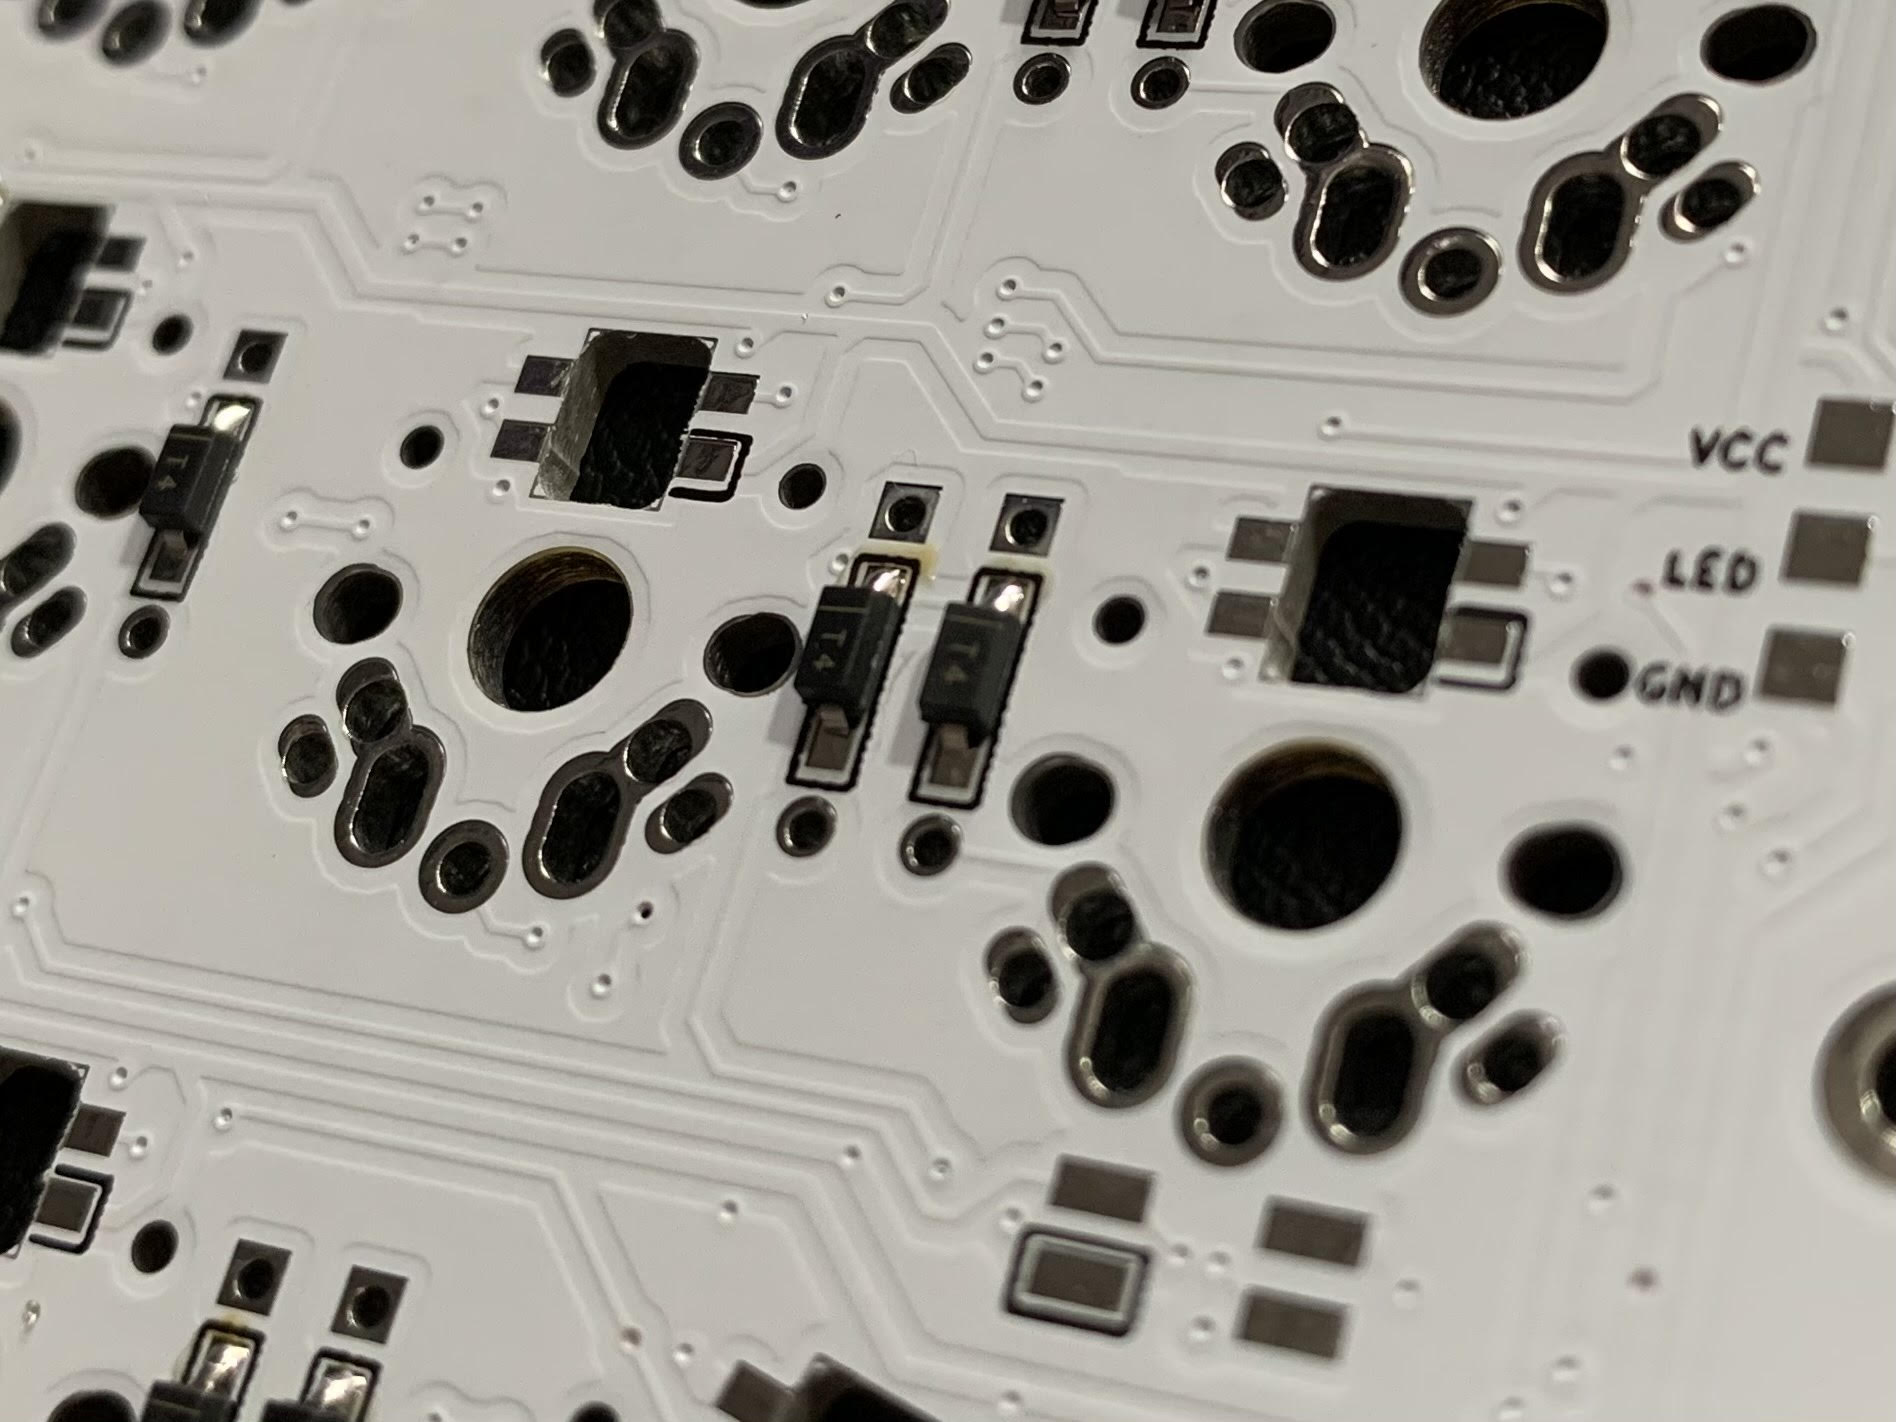
Do the slide Link to heading
Then I hold the component with some tweezers, heat up the solder I put on the pad and “slide” the component into the solder.
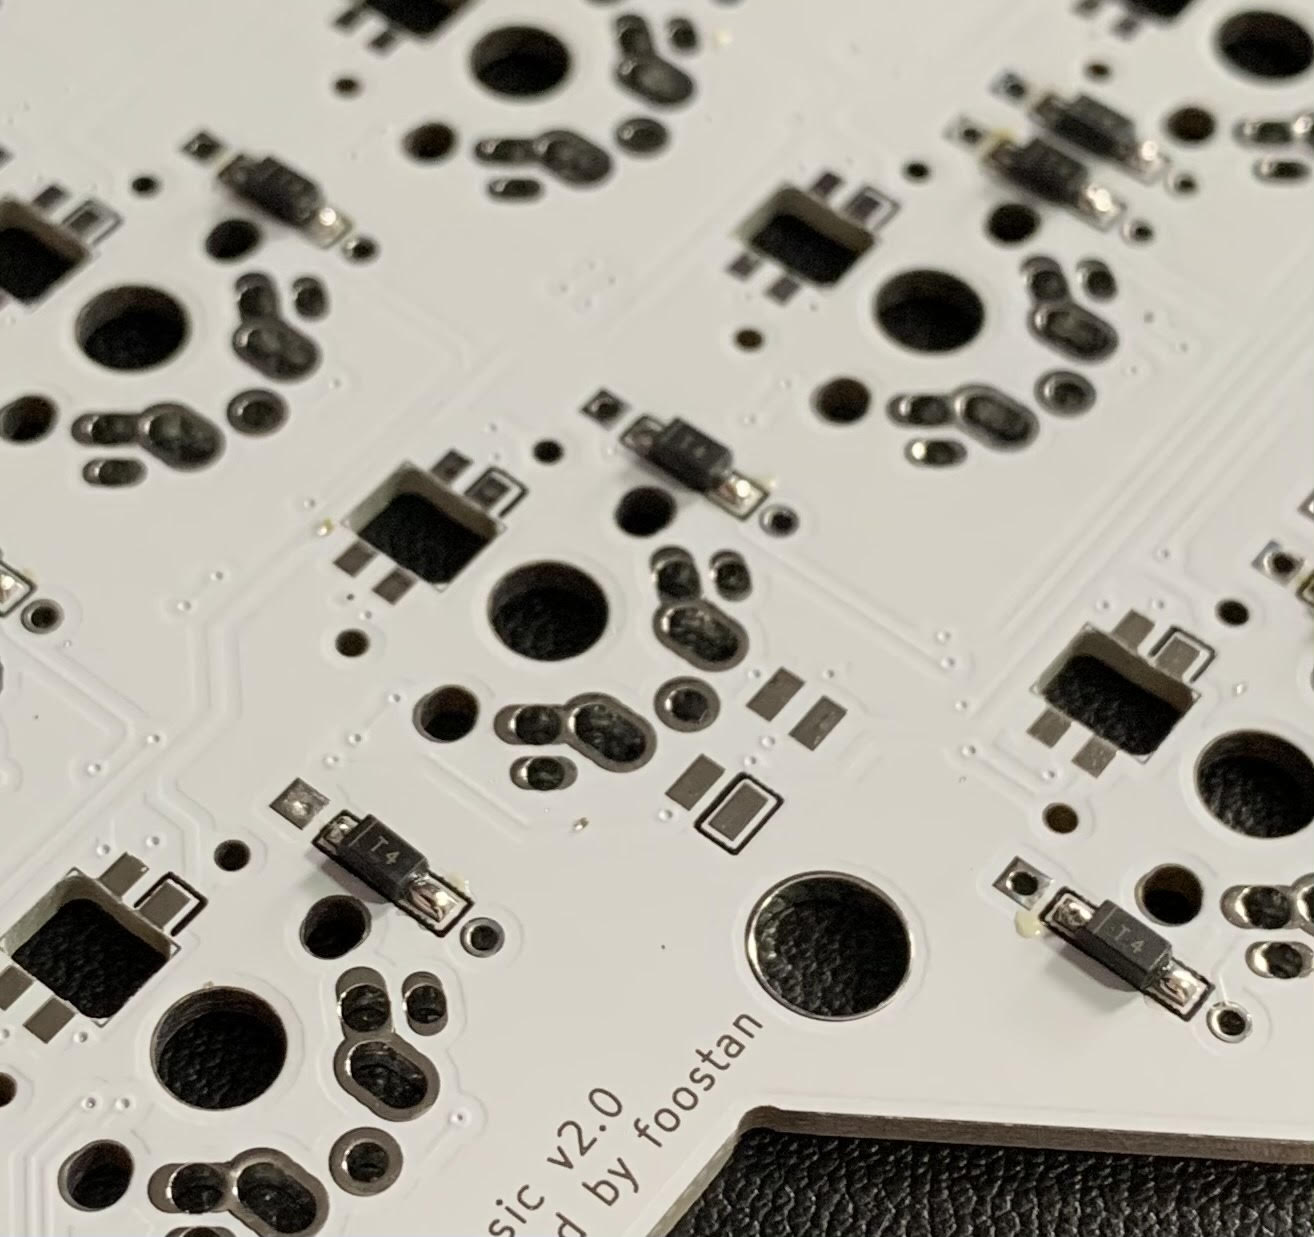
Solder the other side Link to heading
Lastly, I come back and solder the other side of the component.
The rest Link to heading
The rest of the soldering on this board is pretty straight-forward. You put the component through the hole and then heat both the hole and the component. Flow solder into the tip of the soldering iron until you have good coverage on both the component and the hole. It takes some practice but there is this moment when you see the solder “snap” into place and create a minimal surface. At that moment you want to remove the iron.
The switches are very similar, they just have very large holes to solder into, so you have to flow quite a bit of solder before you get a solid connection.
Before you solder the switches, it might be worthwhile to do a bit of debugging to ensure all the connections are good.
Debugging The Corne Keyboard Link to heading
The debugging process for the corne keyboard is pretty easy, especially if you install the oled modules. Basically you want to grab the qmk firmware and flash it on each board.
Checking the diodes Link to heading
Immediately after soldering a diode, you can check the connection with a digital multimeter. The corne pcbs have a convenient traces to test each diode. Basically just follow this guide.
Flashing the Firmware Link to heading
In linux, this consists of putting your boards into dfu mode by holding the reset button while connecting the keyboard. Then with the board in dfu mode, you run one of the commands below (corresponding to which side).
qmk flash -kb crkbd -km devo -bl dfu-split-left
qmk flash -kb crkbd -km devo -bl dfu-split-right
Checking The Firmware and the Board Link to heading
Once the firmware has been flashed successfully and before the switches have been soldered, you can test the diodes and the firmware by taking some tweezers and shorting the connection the switches make.
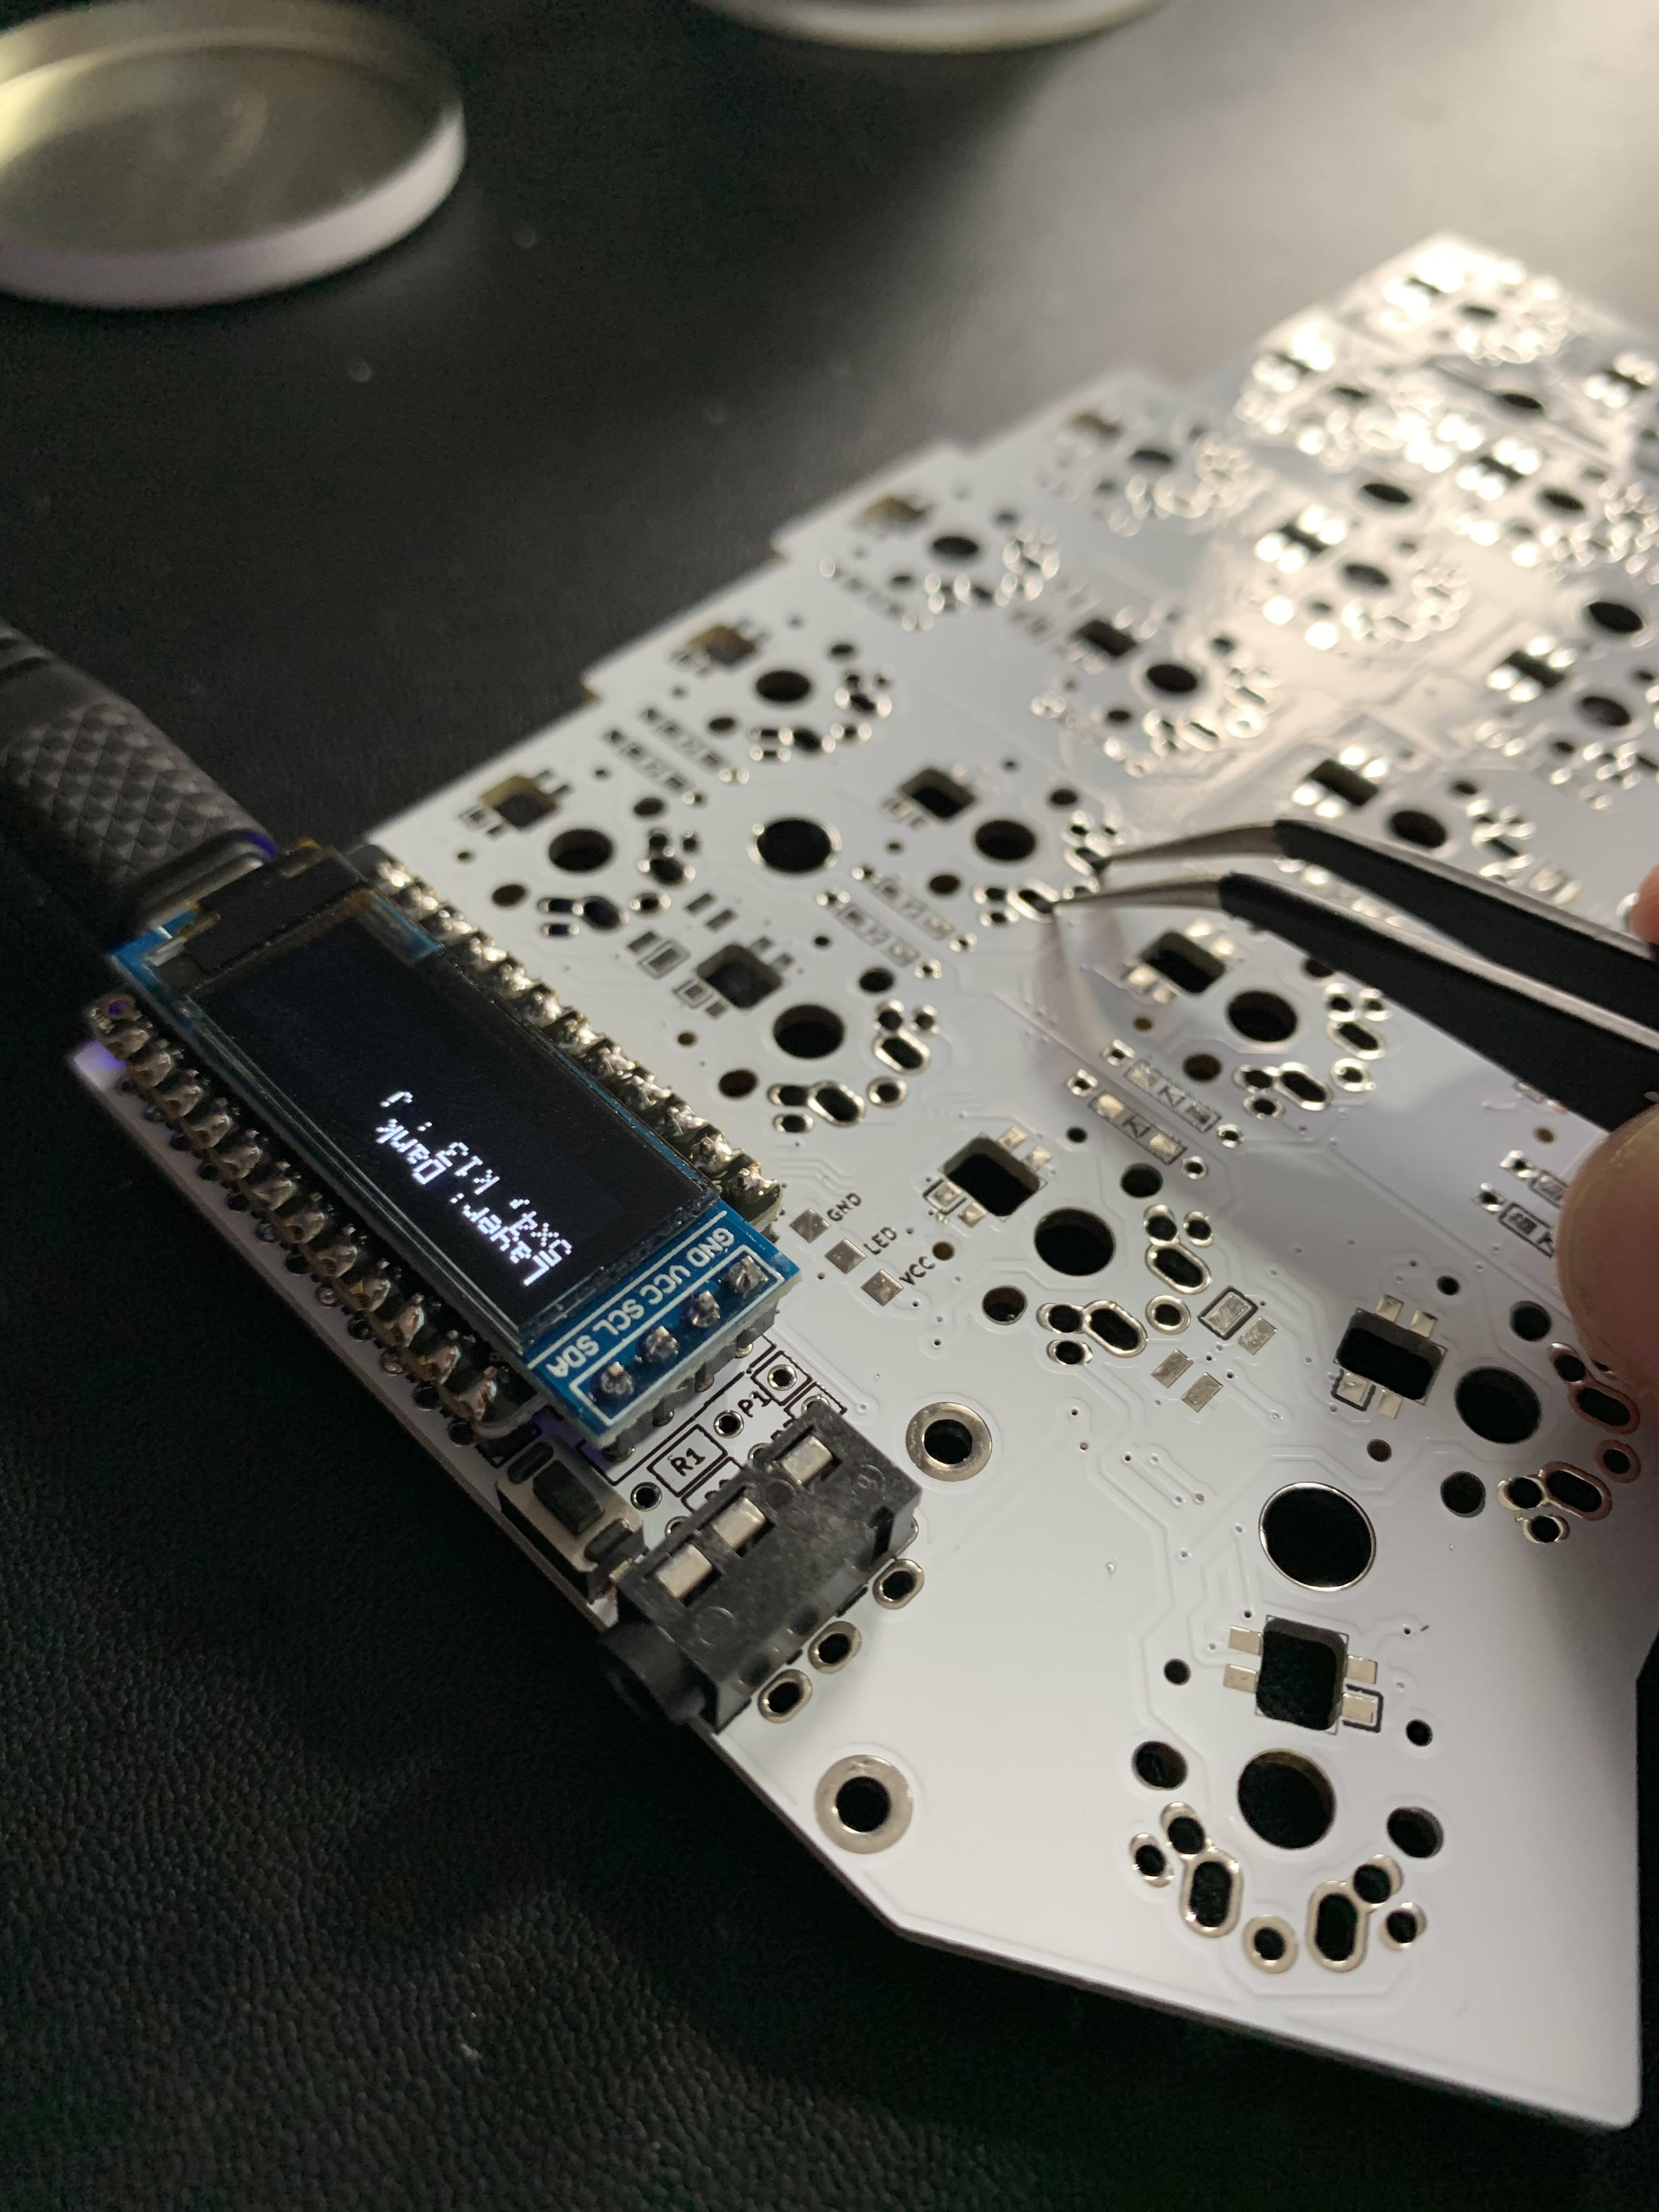
If you have the OLED modules you’ll see the character register on the screen. If not, you can open a document and see if the letters appear when you make the short. This is a super easy way to check the progress of the build, so I never skip it.
Glorious Lubing of Glorious Pandas Link to heading
I finally got all the parts in the mail last week. As mentioned in my previous post, I splurged and got the Glorious Pandas. Everything I read points to these being some of the best tactile switches if you lube them properly. So this is my experience with lubing the the glorious pandas.
I should first mention that this video was super helpful in understanding how to lube switches. The main takeaway is that “less is more” when it comes to lubing switches.
I tried a few different techniques but this is the process I found to me most effective and streamlined.
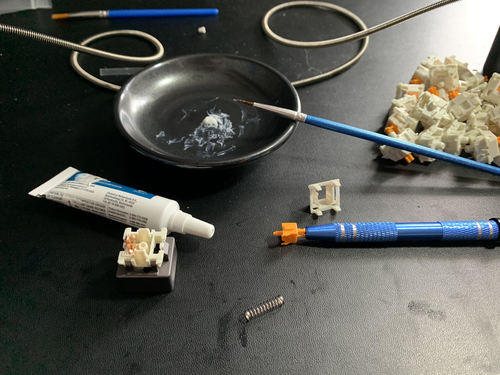
Here is my basic setup. I’ve got my switch opener, a little plate for lube, a thin brush and the switches. I put a small pea sized amount of lube on the plate to remind me to no use too much.
For each switch, I perform the following steps
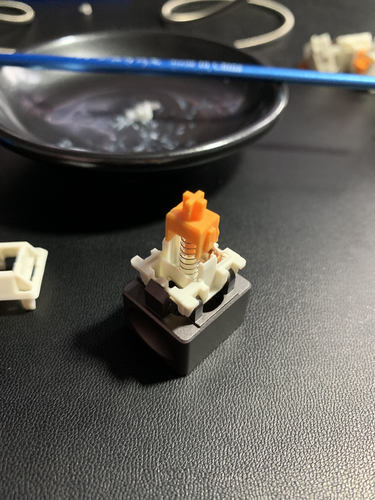
- Open up the switch.
- With a pin size amount amount of lube, lube one end of the spring
- Put the spring on the switch and lube the other end of the spring
- Grab the stem of the switch with the 4 pronged grabber
- Distribute a half-pin sized amount of lube between the two slotted sides of the stem
- Brush the lube on all 4 sides of the stem avoiding the legs to maintain tactility
- With the remaining lube on the brush, brush the inside of the steam where the spring connects
- Reassemble and close the switch
- Repeat!
These switches already felt smoother than the gateron browns before I did the lubing process, but after lubing they incredible. I’m really pleased with how they feel and am excited to put them on the PCB soon.
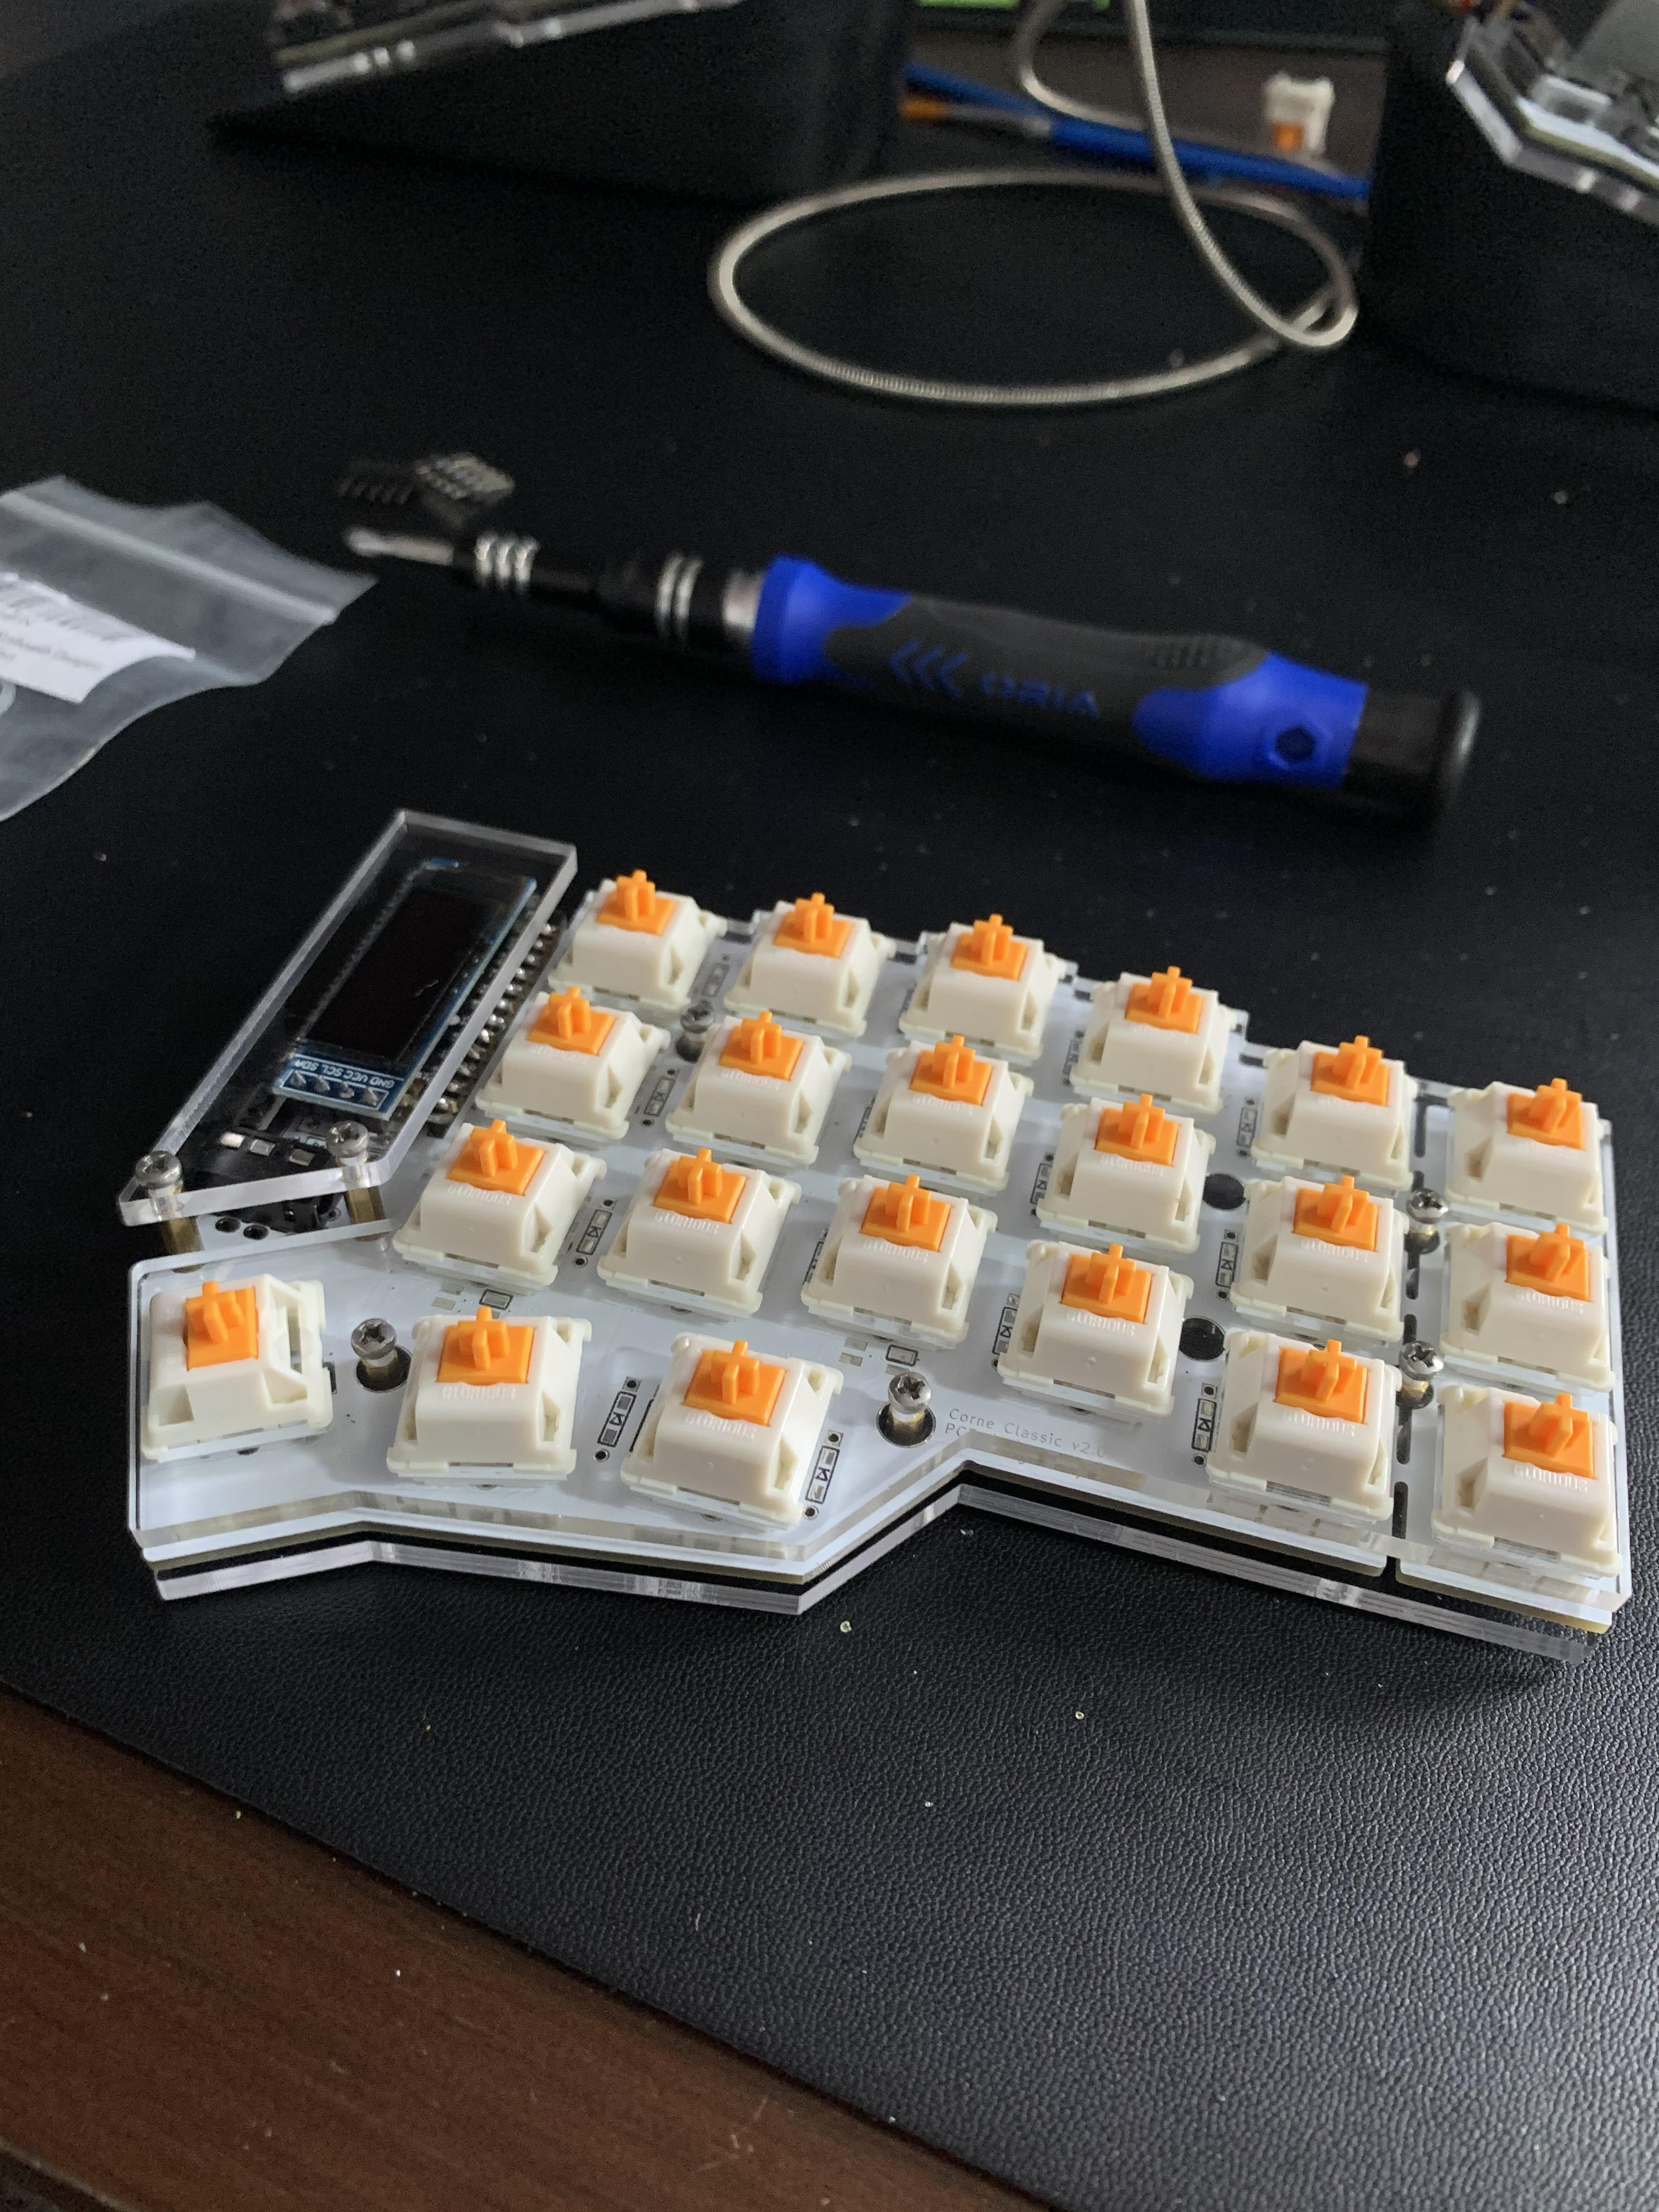
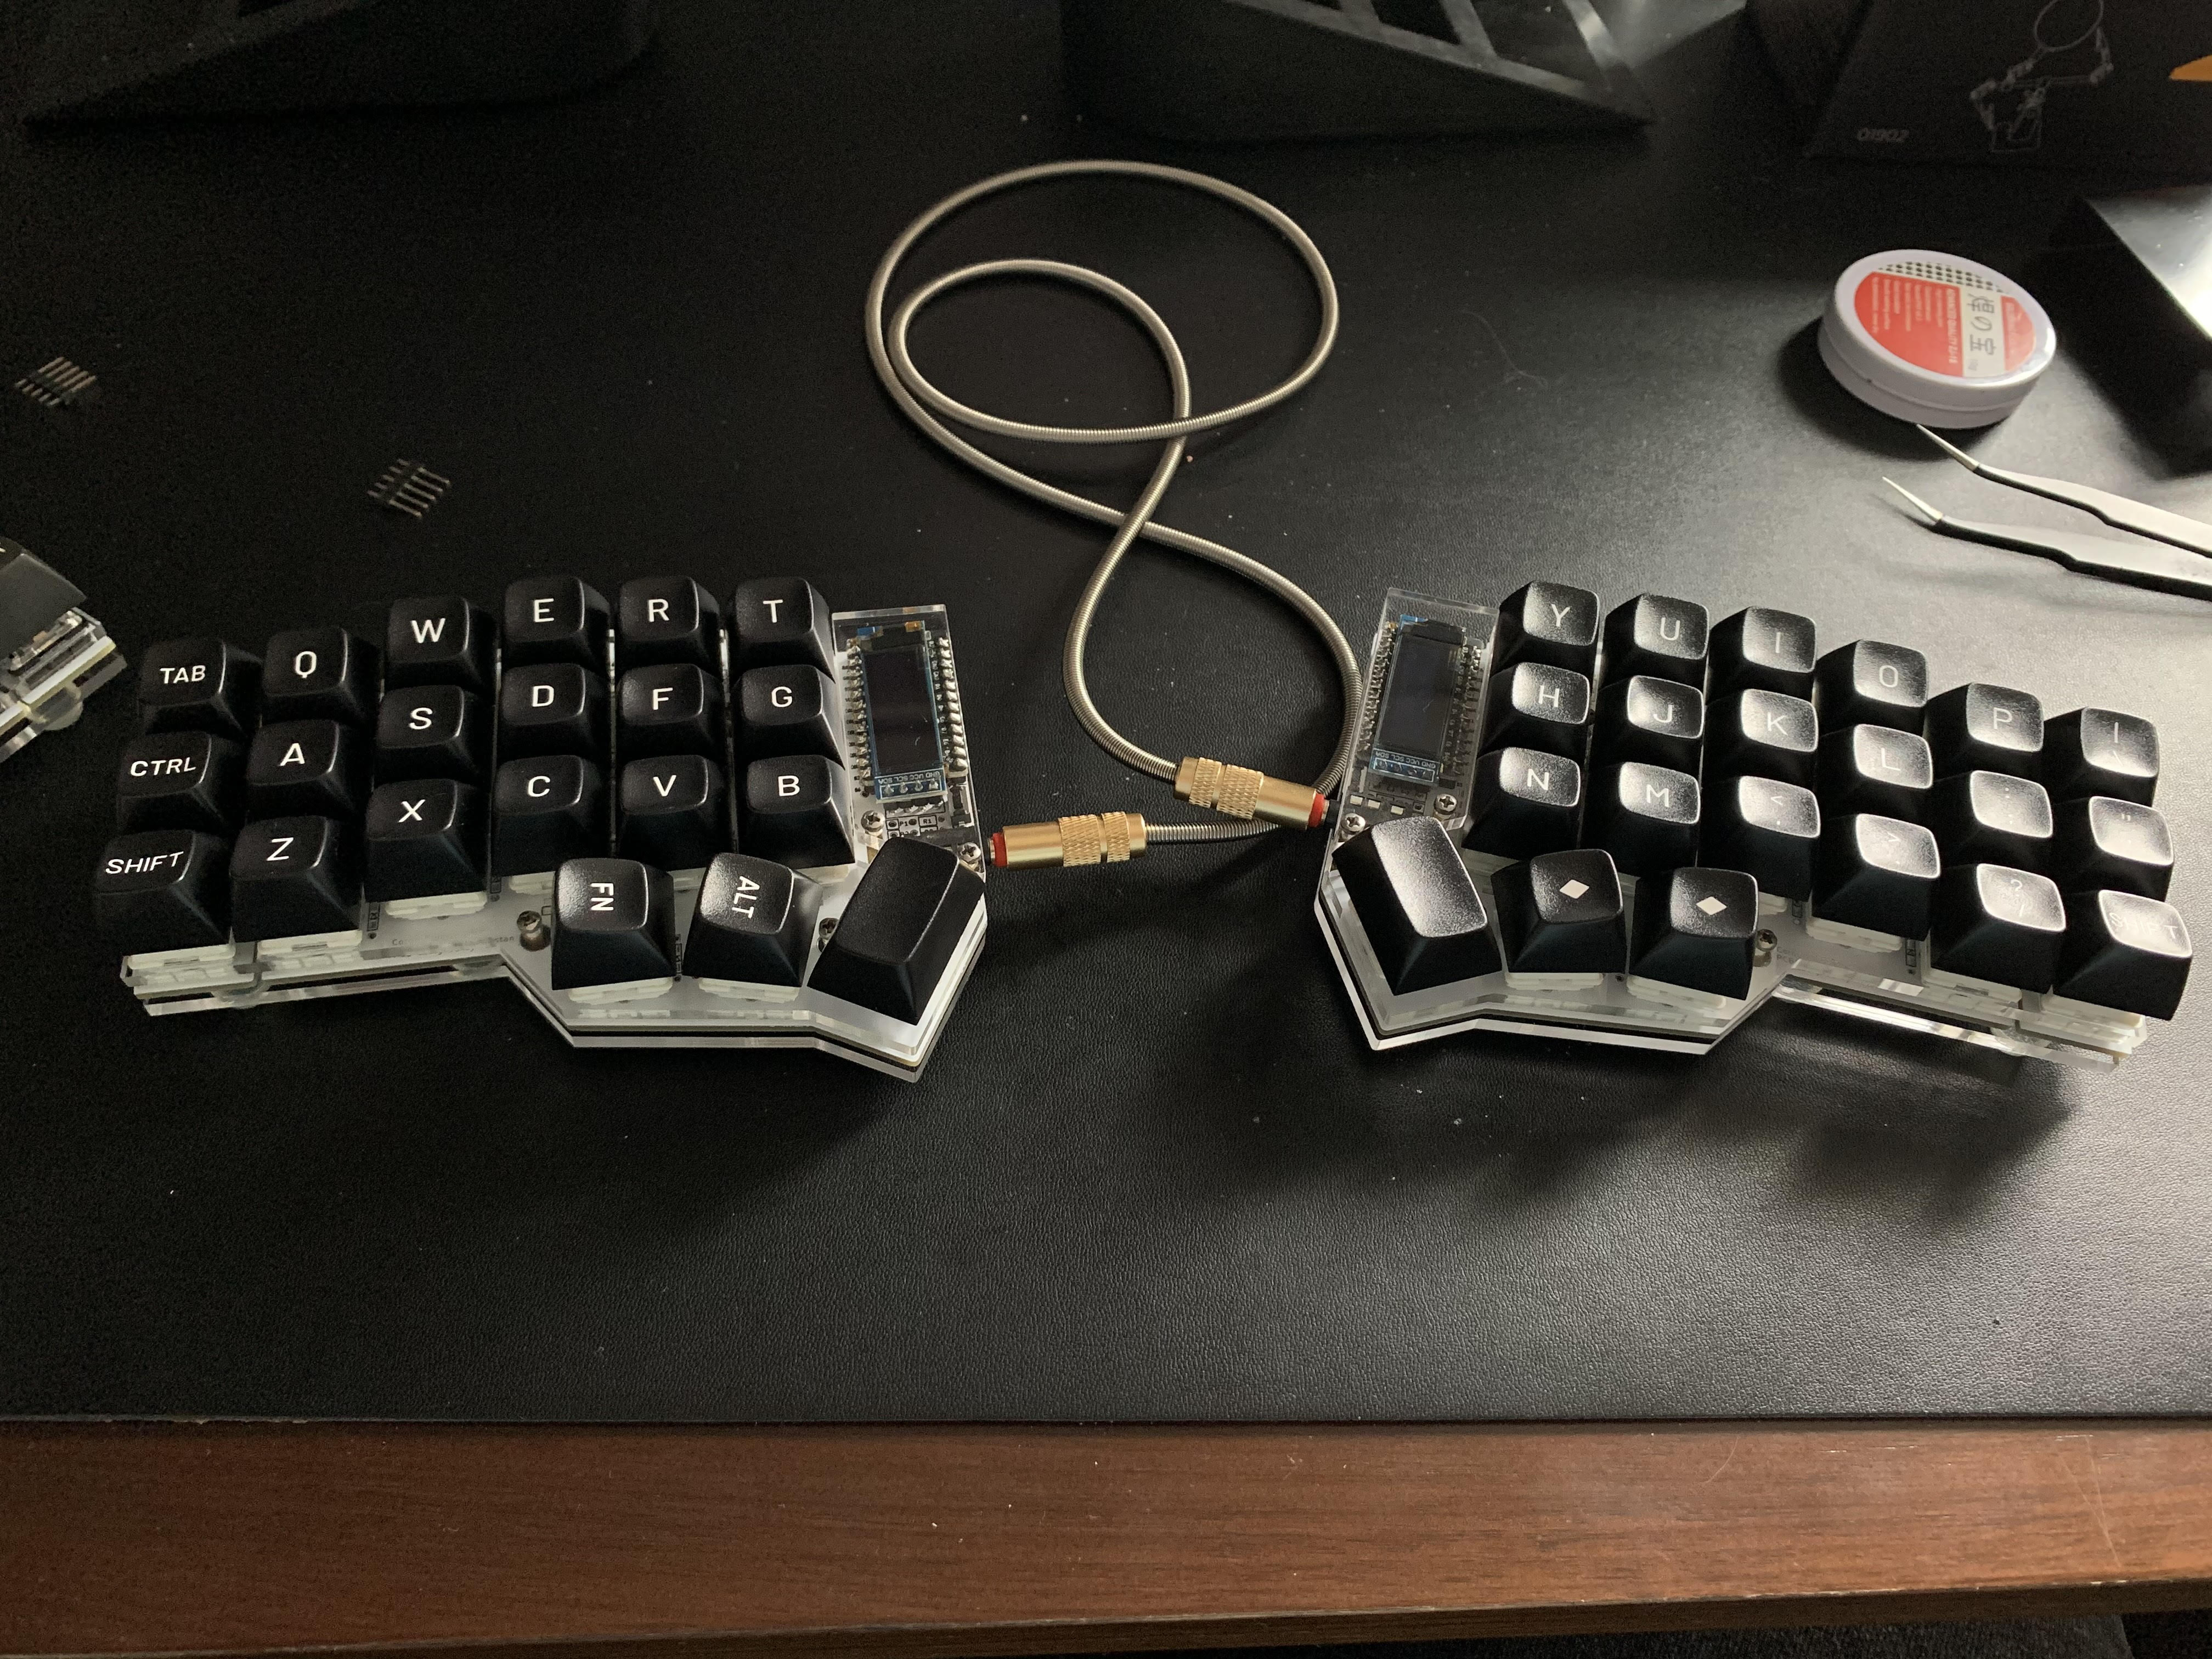
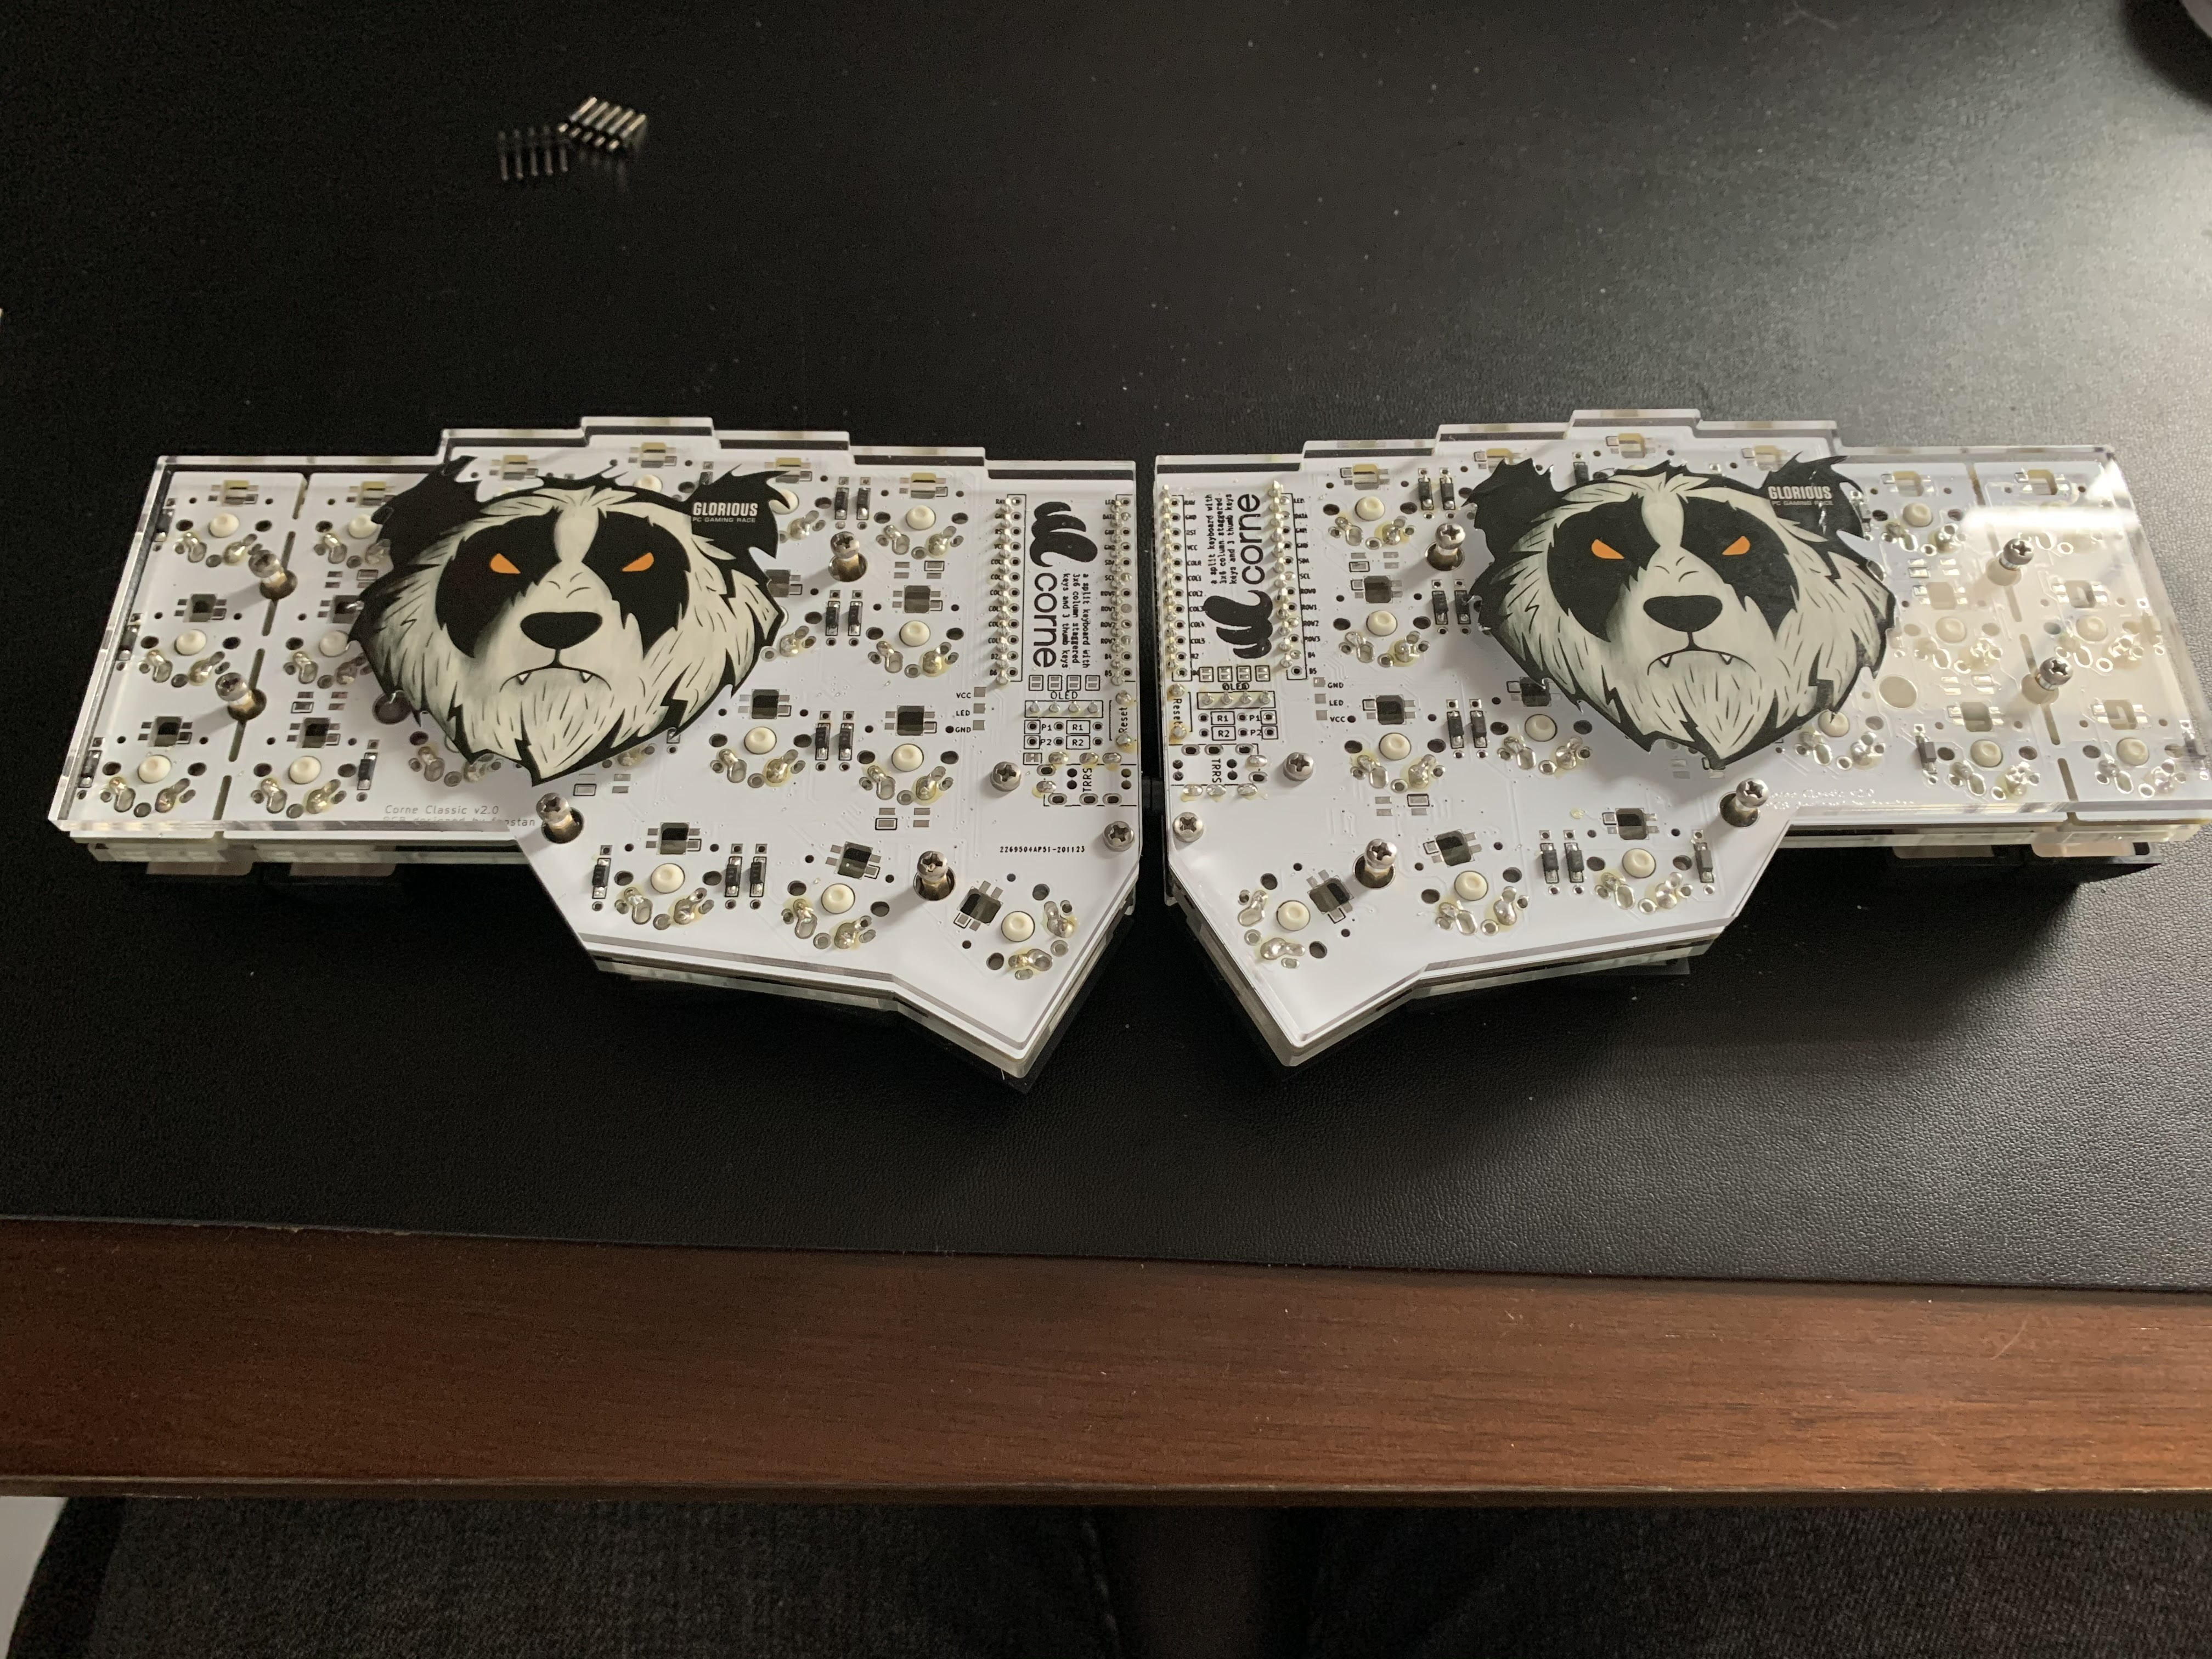
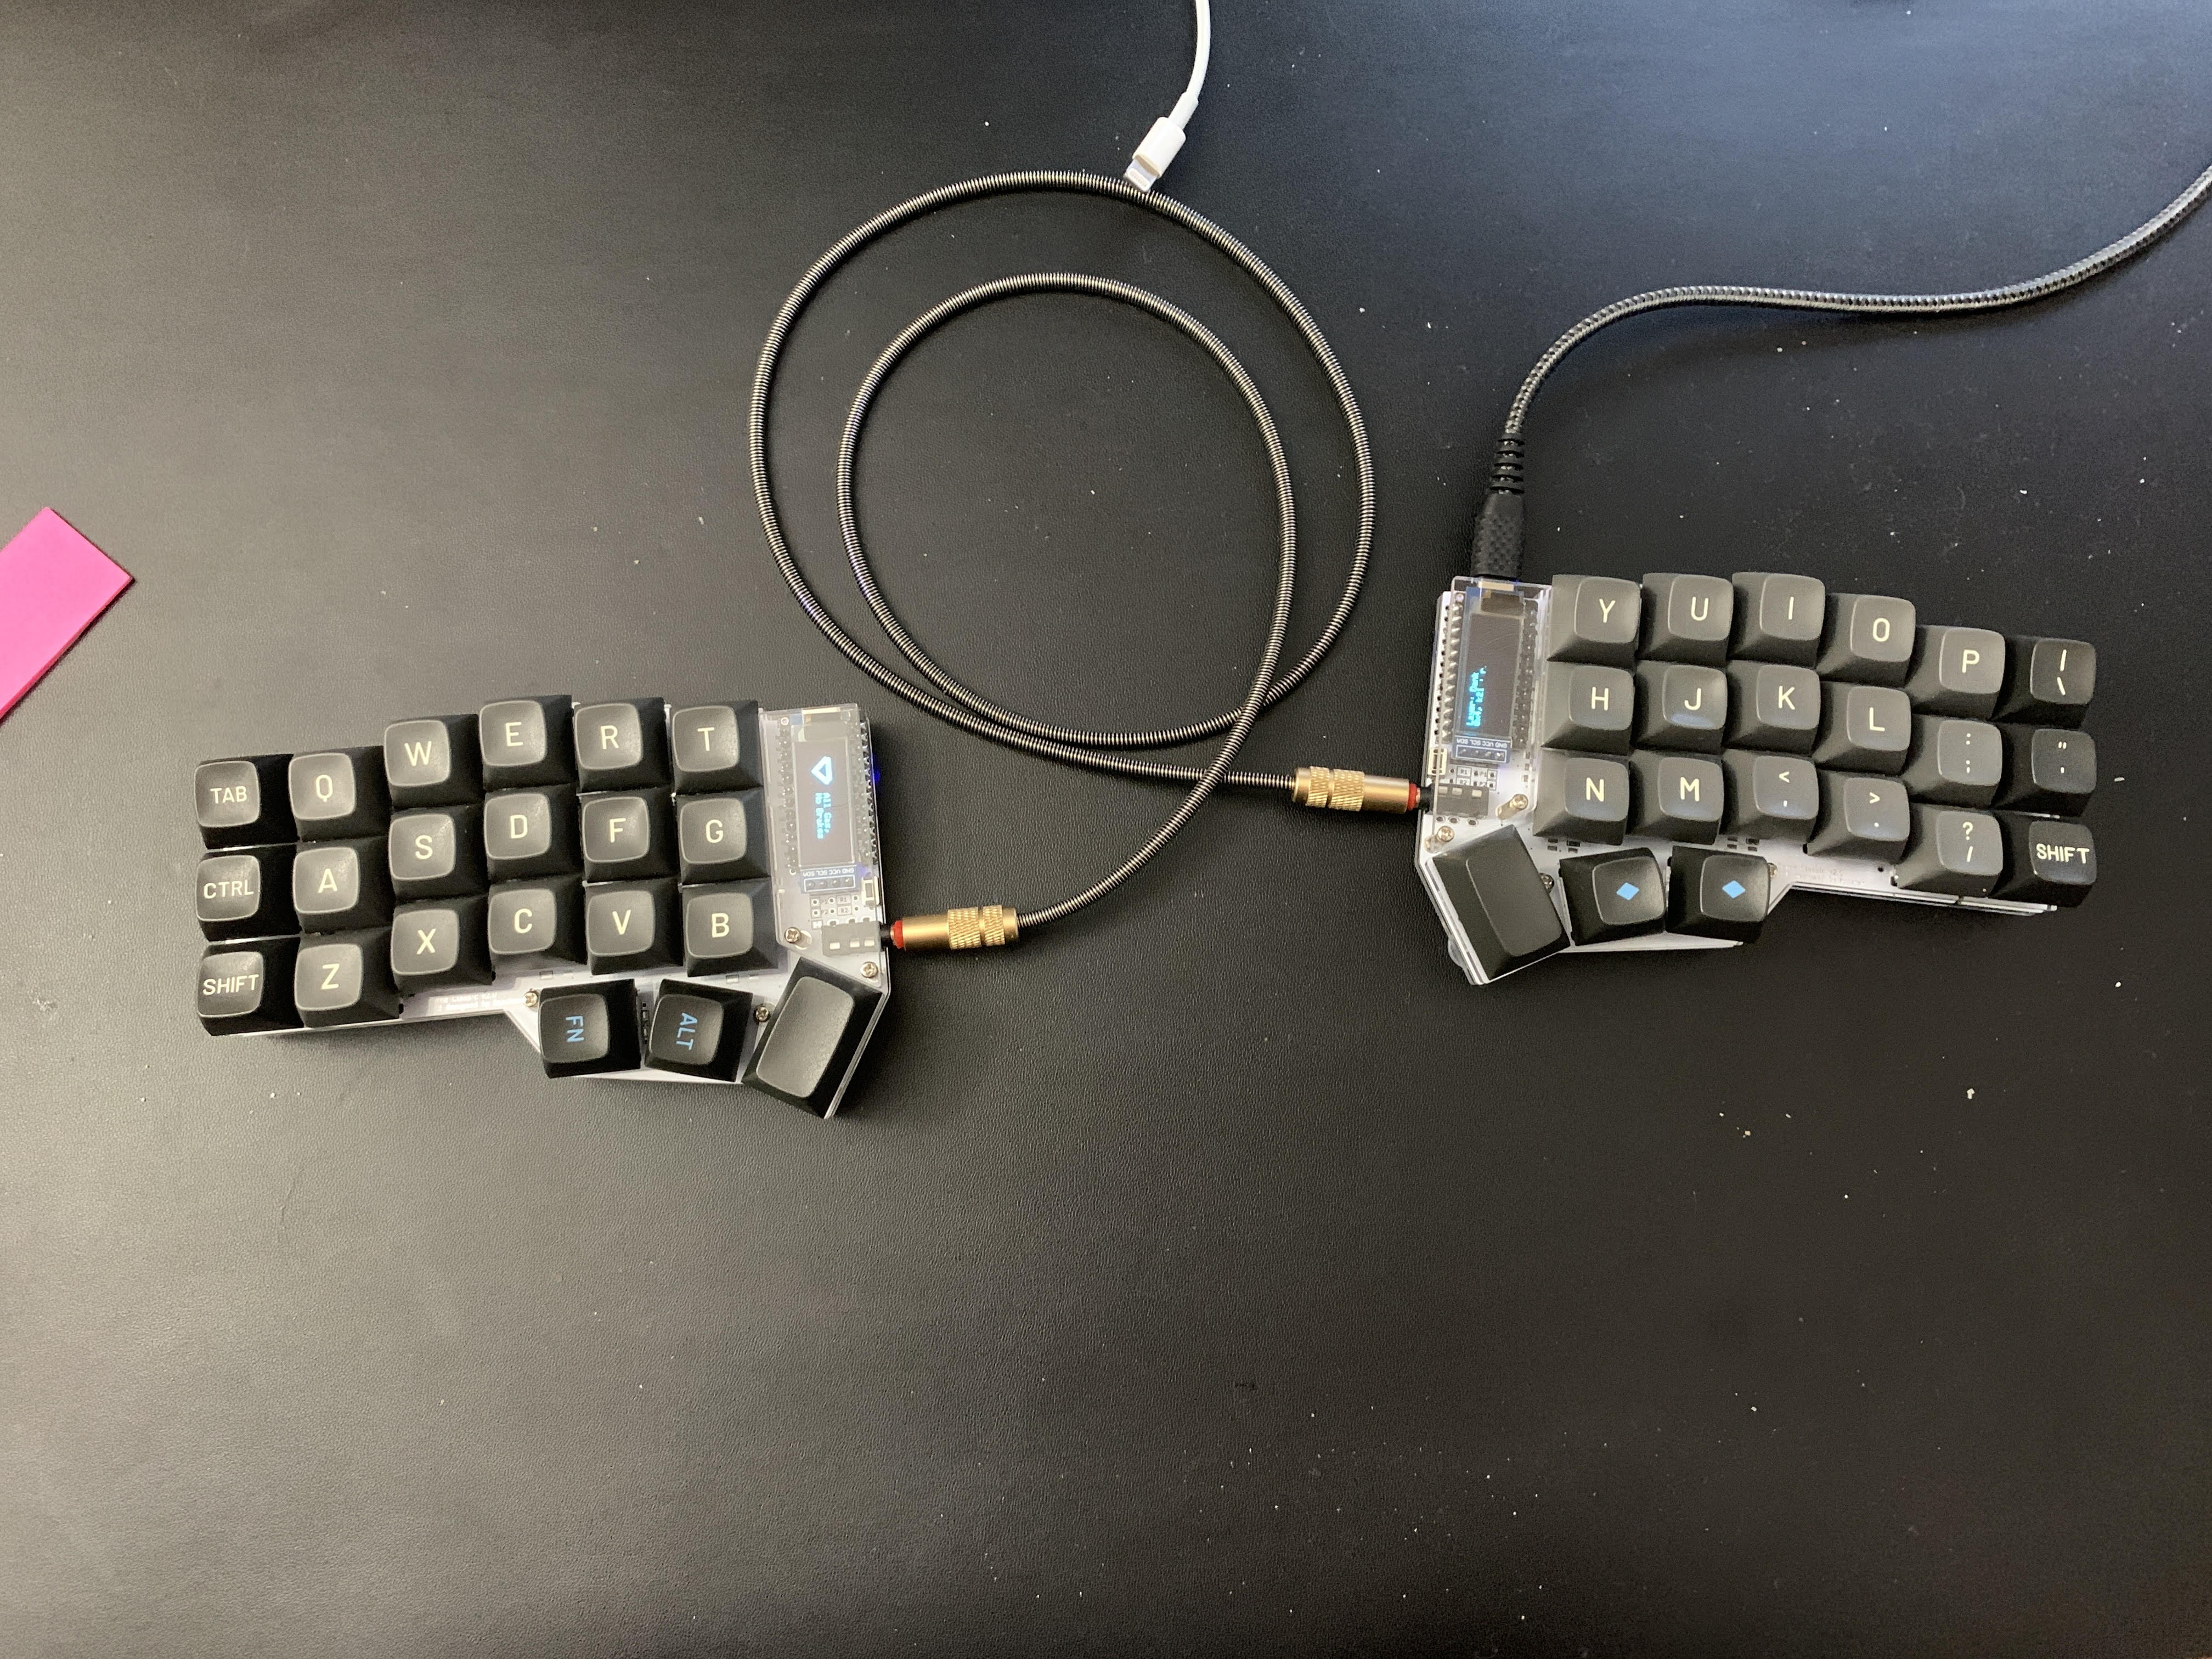
The Proof is in the Switches? Link to heading
This is just a place to share a bunch of pics of the finished build. Overall, I’m incredibly pleased with how the build turned out and how it sounds.